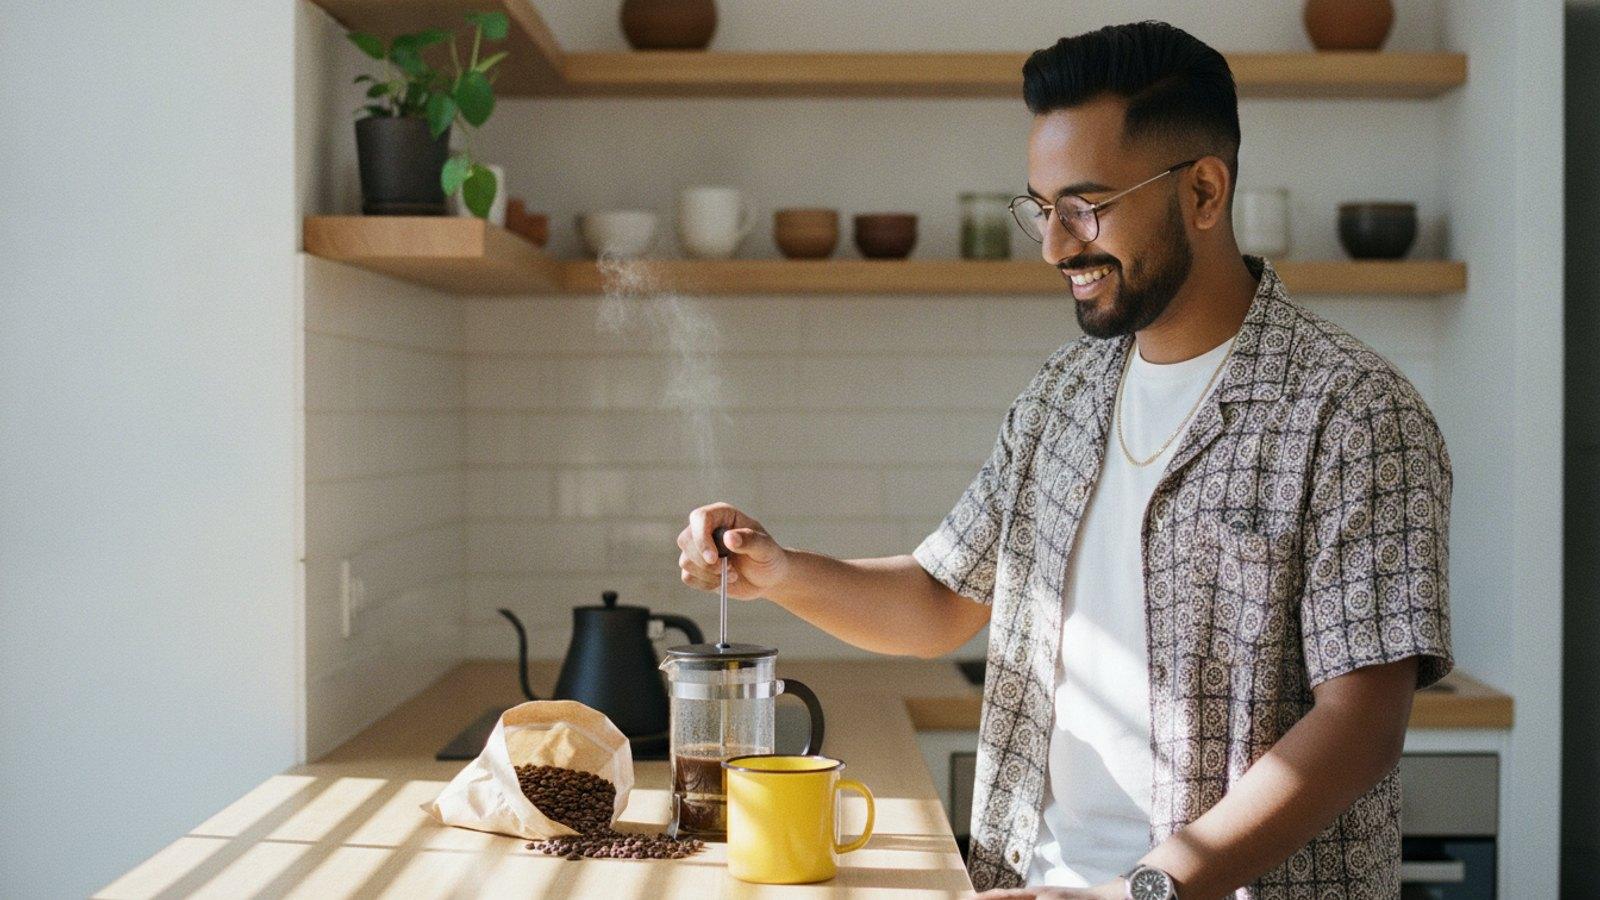
To make good coffee at home you only need four things right: fresh beans, a 1:16 coffee-to-water ratio (about two heaped tablespoons per mug), water just off the boil at 90–96°C, and about 4 minutes of brewing. No machine required — a coffee plunger and a kettle will do it.
I learned the size of the gap between instant and real coffee as a kid, when my mother made me a cup of percolator coffee. There was nothing fancy about it — no fresh-roasted beans, no grinder, just actual ground coffee instead of the instants we usually drank — Frisco and Ricoffy, back when chicory-based instant dominated South African kitchens. The difference floored me. Same kettle, same milk, same kitchen, and what came out was another drink entirely. Nobody had told me that real coffee isn't just a better instant — it's a different thing altogether.
The lucky part is that crossing that gap costs almost nothing: a plunger, a kettle and four minutes of patience. So let's start with the recipe for your first real cup, and then get into everything behind it — because if plain supermarket grounds in my mother's percolator could floor a kid raised on Ricoffy, imagine what fresh beans can do.
How to make coffee, step by step
- Boil the kettle, then wait 30 seconds. You want water at 90–96°C, not a rolling boil — boiling water scorches the grounds and turns the cup bitter.
- Measure your coffee. Two heaped tablespoons (about 15g) of ground coffee per 250ml mug. A 1:16 ratio if you own a scale.
- Grind just before brewing if you have whole beans — medium-coarse, about the texture of coarse sea salt, for a plunger.
- Add coffee, then water. Pour all the water over the grounds, give it one gentle stir, and put the lid on.
- Wait 4 minutes. Set a timer — guessing is how weak coffee happens.
- Press slowly and pour immediately. Leaving brewed coffee sitting on the grounds keeps extracting it into bitterness.
That's honestly all there is to it. The rest of this guide unpacks the why behind each step, so that when a cup does go wrong, you'll know exactly which dial to turn instead of guessing.
How much coffee per cup? (1 or 2 tablespoons?)
Two heaped tablespoons per 250ml mug — roughly 15g. The answer surprises people who grew up with the old one-tablespoon-per-cup rule, but that rule was written for a dainty 180ml teacup, and most of us drink from 250–300ml mugs. One level tablespoon of ground coffee is only about 5g, and in a big mug that brews something closer to coffee-flavoured water than coffee.
The number actually worth remembering is the brew ratio. The National Coffee Association's plunger guidance runs from 1:10 to 1:16 — "1 gram of coffee to 10–16 grams of water" — and 1:16, the gentlest end of that range, is a friendly place to start: 15g of coffee for a 250ml mug. If you want it stronger later, that's a small adjustment rather than a new skill.
Scaling is easy once you think in ratios:
- One 250ml mug: 15g coffee (2 heaped tablespoons), 250ml water
- Two mugs: 30g coffee, 500ml water
- A full 1L plunger: 60g coffee, 1L water
Tablespoons are perfectly fine for getting going tonight. When you're ready, though, a cheap kitchen scale is what turns the occasional good cup into your everyday cup — repeatability is the real upgrade here, more than any piece of gear.
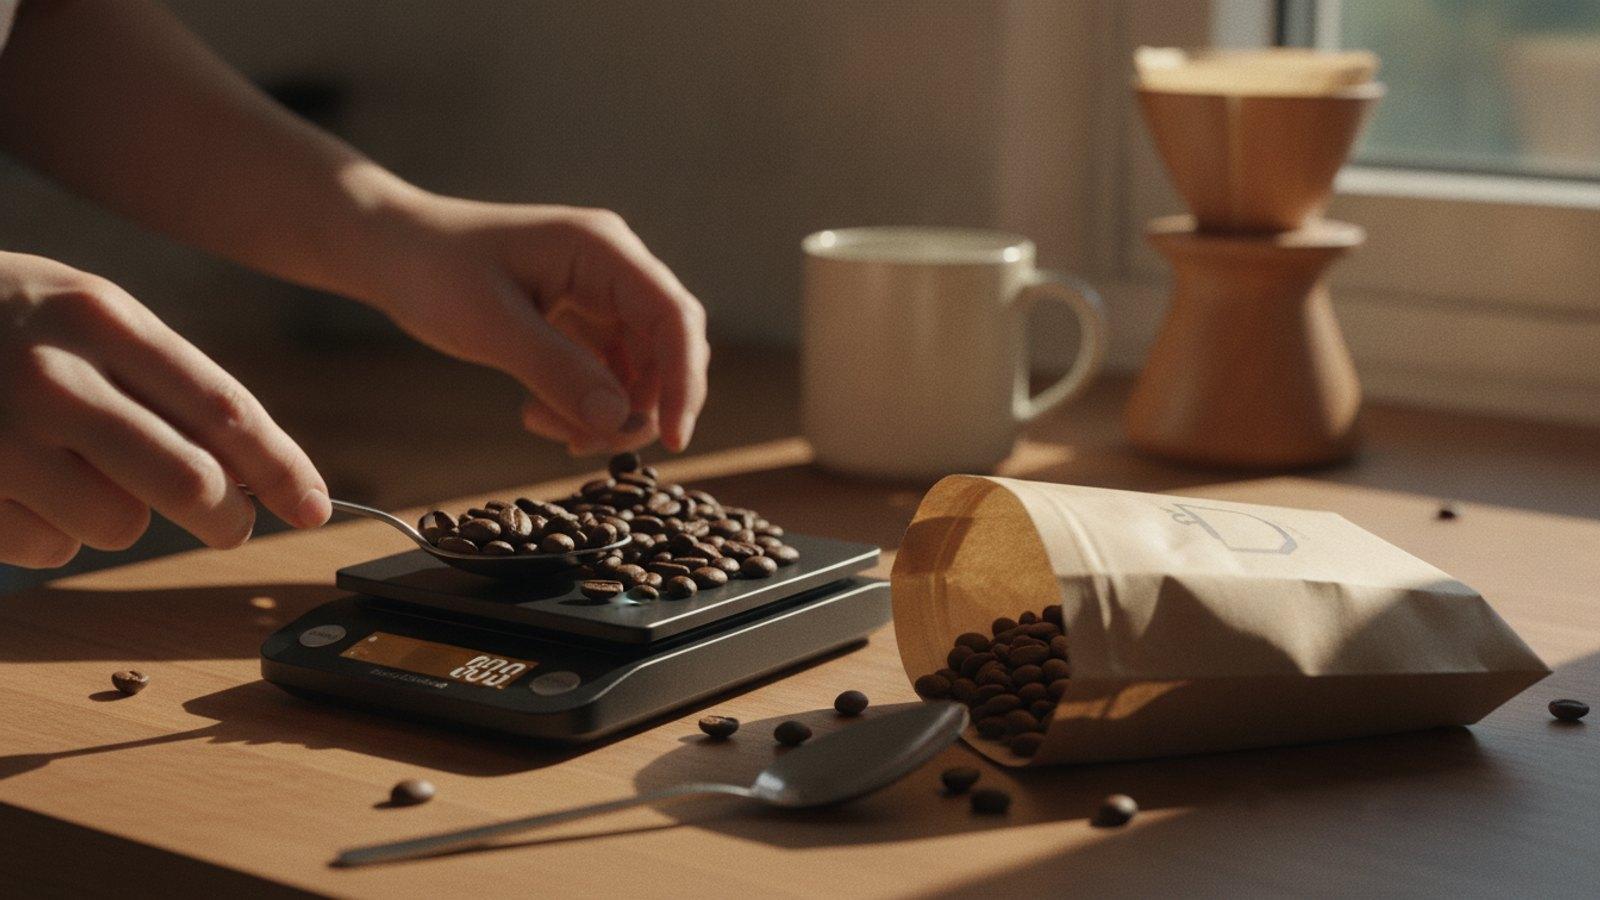
Coffee is a recipe: the only 4 things that matter
Here's how I've come to think about it: making coffee is a little like baking a cake. If you're baking banana bread, the recipe calls for so many bananas and so much flour, and you can't freestyle the quantities and still expect the same loaf. Coffee works the same way — once the recipe is right, the cup mostly takes care of itself.
The recipe has four ingredients:
Ratio.1:16, as above. Too little coffee can't be rescued by brewing longer; it just ends up thin and stewed at the same time.
Water temperature.90–96°C — the NCA's plunger guide puts the ideal at "93 ± 3°C". In practice, a kettle that has just clicked off and rested half a minute is in the zone. Water straight off a violent boil pulls out harsh, bitter compounds, while lukewarm water can't pull out much of anything.
Grind. Match the grind to the method, and use texture as your guide: coarse like sea salt for a plunger, medium like beach sand for pour-over, fine like table salt for a moka pot. Grinding just before you brew makes a real difference too, because ground coffee starts losing its aroma within minutes. A burr grinder is the best-value upgrade in all of coffee — though even pre-ground fresh beans will beat a stale supermarket tin by a country mile.
Freshness. Check the bag for a roast date, the single biggest tell of a roaster who cares. Beans are at their best from about 5 to 30 days after roasting — very fresh beans are still releasing CO₂ (called degassing), which is why good coffee "blooms" and bubbles when hot water hits it. Store them in an airtight tin in a cupboard, away from light, and never in the fridge: coffee absorbs smells, and nobody wants onion notes in their flat white.
And here's the opinion I'll defend to anyone. Before you spend a cent on machines, buy fresh beans — roasted under 15 days ago if you can get them, so most of that peak window is still ahead of them — grind just before brewing, and use a scale to get the ratio right. A R300 plunger with fresh beans will beat a R6,000 machine fed stale ones every single time, and that really is the whole secret.
Can I make coffee with tap water in South Africa?
Yes. If your tap water tastes fine to drink, it will brew perfectly good coffee. Water does make up most of the cup, so it deserves a little thought — just don't let it turn into a research project.
The one thing that reliably spoils a brew is chlorine. If you can smell the swimming pool when you fill the kettle, run the water through a filter jug first, though boiling drives most of that taste off anyway.
There's also a counterintuitive tip hiding in the NCA's brewing guidance: avoid distilled or fully softened water, because coffee needs some minerals to extract properly, and "pure" water actually makes a flatter cup. Ordinary municipal tap water, filtered only if it tastes off, is the sweet spot.
The easiest way to start: the coffee plunger
If you're starting from zero, start with a plunger — what the rest of the world calls a French press, though no South African kitchen has ever called it that. It's cheap, nearly indestructible, forgiving of small mistakes, and it brews a rich, full-bodied cup because the metal mesh lets the coffee's natural oils through.
The recipe is the six steps at the top of this page: coarse grind, 1:16, water off the boil, 4 minutes, press slowly, pour immediately. We've written a full walkthrough — including the two mistakes that cause muddy plunger coffee — in our coffee plunger guide.
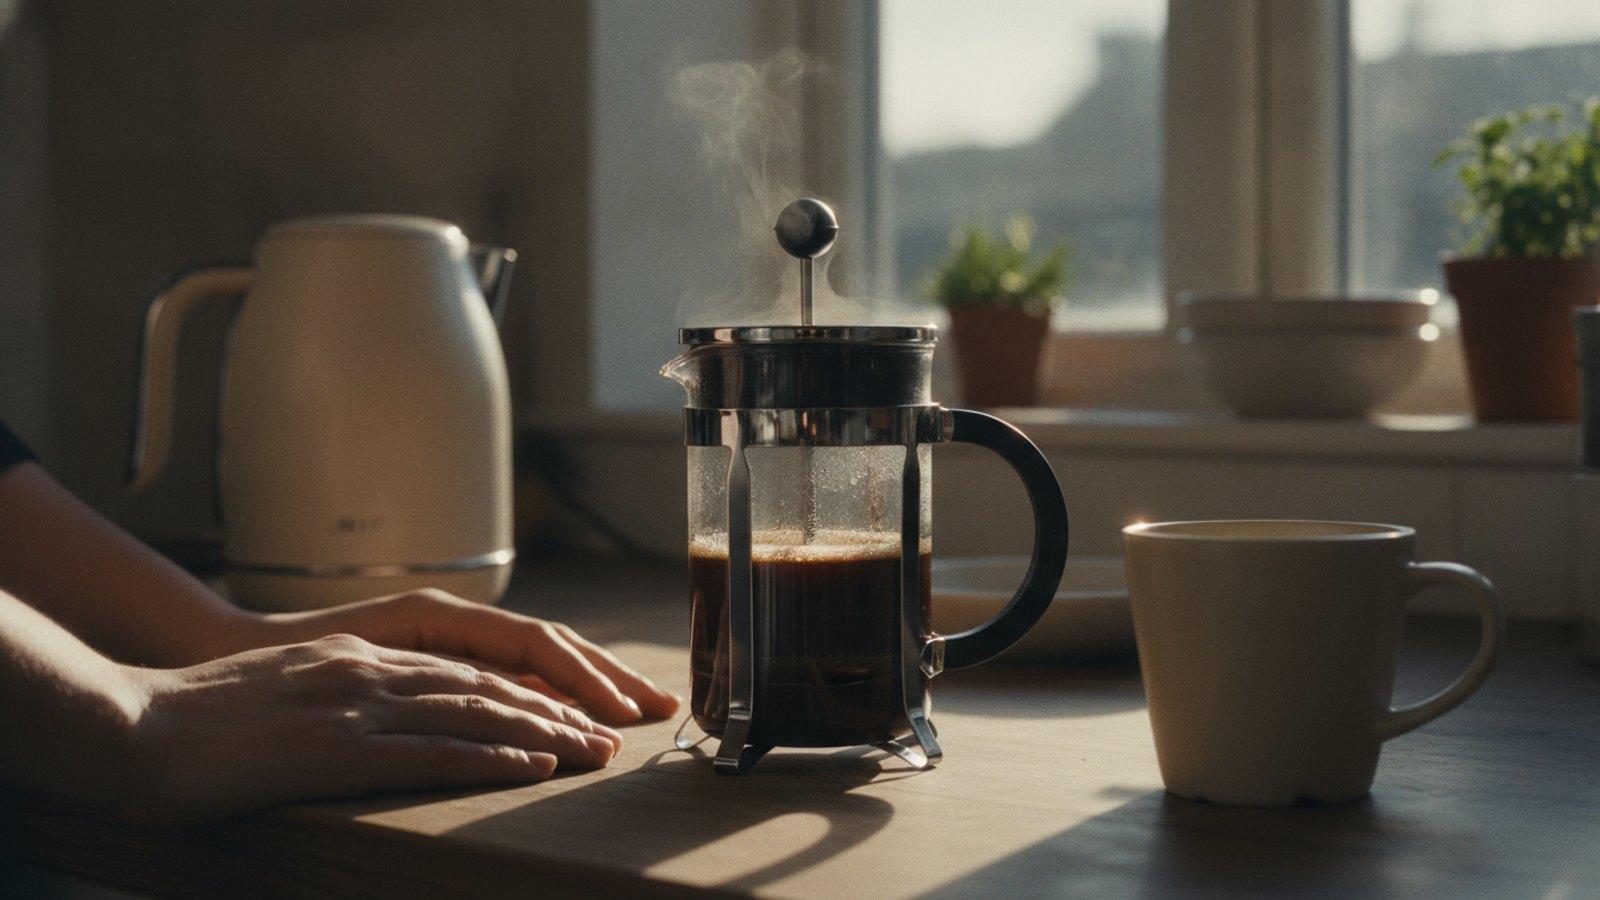
Other ways to make coffee without a machine
All three of these run on nothing but a kettle or a stovetop — no machine, no plug — and each makes a noticeably different cup:
- Pour-over (like the V60):the cleanest, brightest cup of the three. You pour hot water over grounds in a paper filter, starting with a small pour to let the coffee bloom. It asks a bit more technique of you and pays it back in flavour — here's our pour-over guide.
- AeroPress:quick, smooth, almost no cleanup, and small enough to live in a backpack. There's a reason it has a cult following — see our AeroPress guide.
- Moka pot:the little stovetop octagon that makes strong, espresso-adjacent coffee — the closest you'll get to a cortado base without a machine. Our moka pot guide covers heat control, the part that makes or breaks it.
Whichever one appeals, give it a few weeks of your full attention before buying anything else. The gear rabbit hole isn't going anywhere.
Already drink instant? Make it better tonight
An estimated 76% of South African coffee drinkers still prefer instant, according to a March 2026 Perfect Daily Grind report on our market — even as up to two-thirds of adults now drink coffee daily. Frisco, Ricoffy and Nescafé raised most of us, me included, so there's nothing to be embarrassed about here. It just means your starting point is the same as almost everyone else's.
You also don't have to switch overnight:
- Tonight:make your usual instant, but let the kettle rest 30 seconds first, and warm the milk instead of splashing it in cold. You'll taste the difference already.
- This weekend:buy one 250g bag of fresh beans from a local roaster — ask them to grind it coarse for a plunger — and brew the six-step recipe on a Saturday morning when nobody's rushing you.
- Then keep both. Weekday instant, weekend plunger. In my experience the weekend habit quietly takes over on its own, the same way that percolator cup eventually took over for me.
If you're not sure what to buy first, our guide to choosing your first bag of specialty coffee walks you through the shelf without the jargon.
How to make coffee with milk
Milky coffee isn't cheating — it's how this country actually drinks.
"The vast majority of cafes in South Africa would tell you that their most popular drink would be a large cappuccino."
That's Dario Scilipoti — founder and head roaster of Bluebird Coffee Roastery in the KZN Midlands — speaking to Perfect Daily Grind about how we drink. You don't need a machine for it either. Brew your plunger coffee strong — try 1:12, which works out to about 20g per 250ml — then fill a third of the mug with coffee and top it up with hot milk. What you get is close to a flat white's comfort, if not quite its microfoam.
For the milk itself, warming it gently in a small pot until it steams is all a stovetop needs — just don't let it boil, because scalded milk tastes flat and loses its sweetness. If you want foam, a R100 battery whisk gets warm milk there in about 20 seconds, and in a pinch a clean plunger does the same job: pump warm milk with the mesh until it doubles in volume.
Fixing a bad cup (bitter, sour, weak)
A bad cup always tells you what went wrong — once you know what to listen for:
| The cup tastes… | What went wrong | The fix |
|---|---|---|
| Bitter, harsh, ashy | Over-extracted: water too hot, grind too fine, or brewed too long | Rest the kettle 30s longer, grind coarser, press at 4 minutes sharp |
| Sour, sharp, thin | Under-extracted: water too cool, grind too coarse, or brewed too short | Use water fresh off the rest, grind finer, give it the full 4 minutes |
| Weak, watery | Not enough coffee for the water | More coffee, not more time — go to 2 heaped tablespoons per 250ml |
| Muddy, gritty | Grind too fine for a plunger, or poured too fast | Grind coarser (sea-salt texture), press and pour slowly |
| Stale, cardboardy | Old beans or pre-ground gone flat | Check the roast date; buy fresher, smaller bags |
Change one thing at a time, the way you'd test any recipe, and you'll have your cup dialled in within a week.
Where to buy fresh beans in South Africa
This is where living in South Africa right now works in your favour, because a wave of local roasters now ships beans nationwide with roast dates printed proudly on the bag. A few from our directory to start with:
- Truth Coffee Roasting — Cape Town's famous steampunk roastery, and a reliably bold first bag.
- Rosetta Roastery — Bree St, Cape Town; single-origin specialists if you want to taste what "fruity" actually means.
- Father Coffee — Kramerville, Joburg; beautiful beans and no attitude.
- Bean There Coffee Company — Johannesburg; South Africa's first Fairtrade coffee roaster, going since 2005.
- Terbodore Coffee Roasters — Franschhoek; the one with the Great Dane on the bag.
- Beaver Creek Coffee Estate — KZN south coast; they grow and roast their own coffee at the world's southernmost coffee-growing plantation.
You'll find the full map in our directory, and if you're curious how SA coffee got this good, the specialty coffee in South Africa guide tells the longer story.
So: boil the kettle, count to thirty, and make the recipe once. That percolator moment my mother gave me is sitting in your kitchen right now — it just needs real coffee and four minutes.