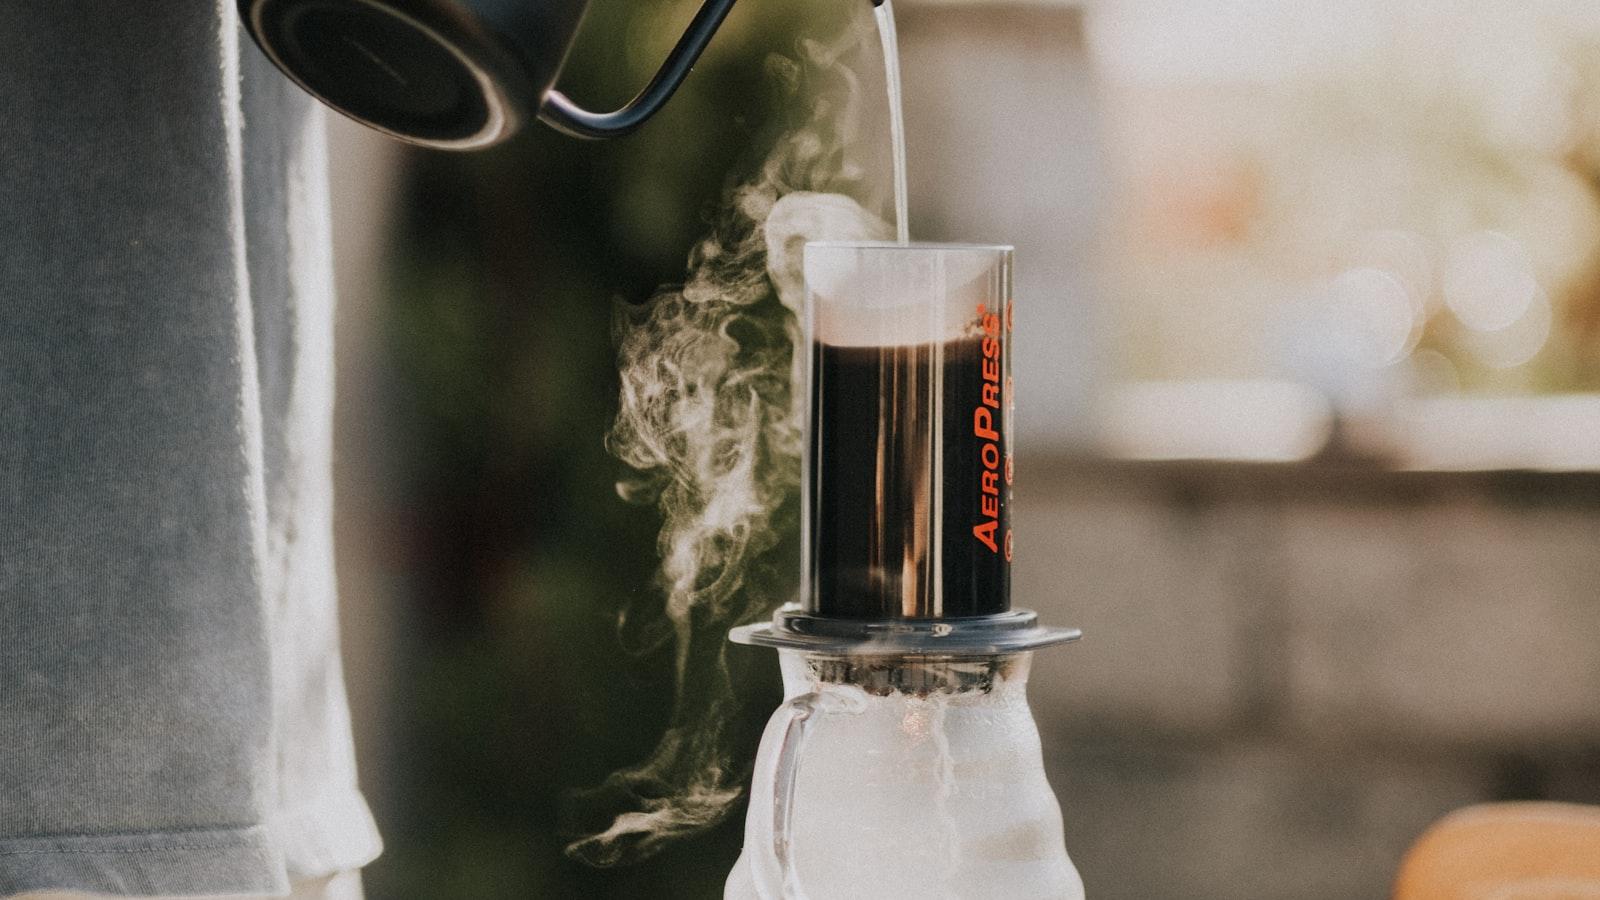
An AeroPress makes a smooth, clean, low-bitterness cup of coffee in about two minutes by steeping ground coffee in hot water, then pressing it through a paper filter using gentle air pressure. It's the most forgiving way to brew one really good cup at home — a finer grind than a plunger, a cleaner cup than a plunger, and almost impossible to ruin.
I came to it late. For years my single-cup answer was a plunger, until I picked up an AeroPress Go — the travel version — and packed it for a trip to Italy. Brewing in a tiny apartment kitchen in a country that takes its coffee seriously, with nothing but the AeroPress, a kettle and a bag of beans, I worked out why so many people are quietly obsessed with this odd plastic tube. It comes home with you, it forgives almost everything, and the cup it makes is cleaner than I expected. This guide is everything I'd tell a mate who just unboxed one.
What is an AeroPress?
An AeroPress is a manual coffee brewer: a plastic tube you fill with ground coffee and hot water, cap with a paper filter, and press by hand so the brewed coffee pushes through the filter into your mug below. It brews one cup at a time — somewhere between a strong long black and a mild concentrate — in about two minutes start to finish.
It was invented in 2005 by Alan Adler, an engineer and inventor who'd already designed the Aerobie flying ring. He wasn't a coffee industry insider, which is partly why the thing looks nothing like a traditional brewer — it's a piece of engineering aimed at one problem: a fast, good, single cup with no bitterness. Two decades on it has a devoted following and its own world championship, which tells you the idea landed.
Why the AeroPress makes such a good cup
Three things happen at once, and together they cover most of your mistakes.
- Full immersion steeping.The grounds sit in the water the whole time, like a plunger, so extraction is even and you don't need a perfect pour to get a balanced cup.
- Gentle air pressure. Pressing the plunger pushes the water through with a light nudge of pressure — not espresso-machine force, but enough to move things along quickly and lift a bit of sweetness and body.
- A paper micro-filter. This is the quiet hero. That little paper disc traps the oils and the finest sediment, so what lands in your mug is clean, clear and smooth — the same clarity trick a pour over pulls off with its paper cone.
AeroPress's own makers put it simply: the micro-filter "traps grit and oils, leaving you with a silky-smooth cup." Immersion gives you forgiveness, pressure gives you speed, and the paper gives you a clean cup. That combination is why a slightly wrong AeroPress brew still tastes good, where the same fumble in a more finicky method tastes thin or harsh.
What you need
Not much, and that's part of the charm.
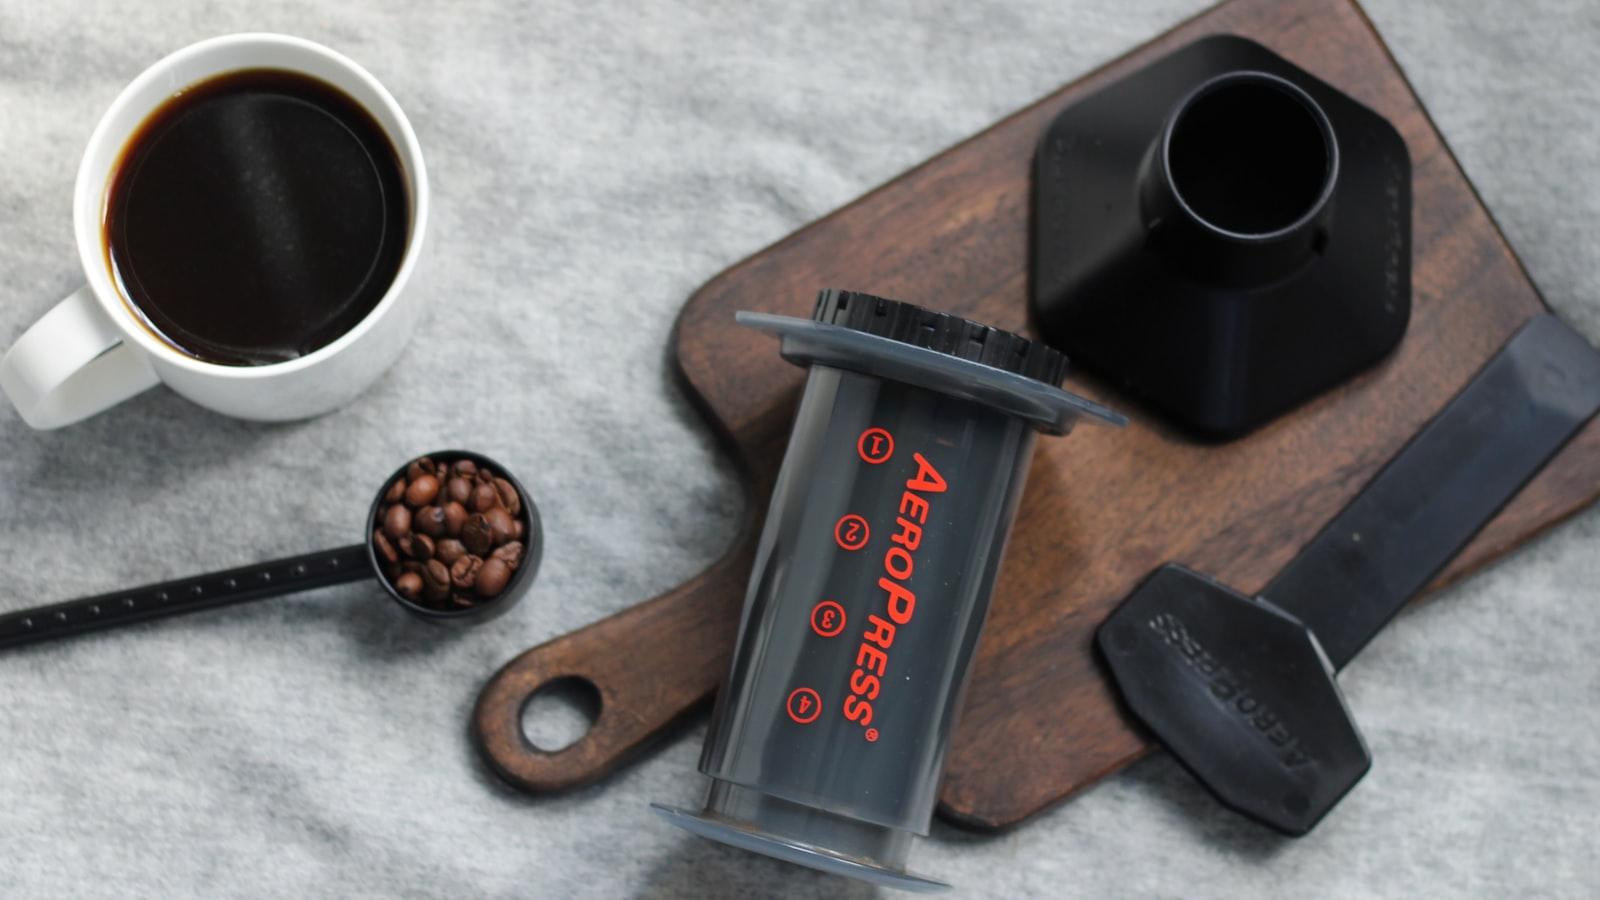
- An AeroPress. The standard model or the smaller AeroPress Go (it nests into its own travel mug — the one I own and rate for exactly that reason). Either comes with the chamber, plunger, filter cap, a scoop and a stirrer.
- Paper filters.A pack of the little round filters that sit in the cap. They're cheap, last ages, and they're doing the flavour work, so don't skip them.
- Fresh coffee, ground fine (see the next section). Whole beans ground just before you brew beat anything pre-ground.
- A kettle and a mug.That's genuinely it.
- A scale, ideally.Any kitchen scale that reads to a gram makes your cup repeatable. Not essential — the scoop gets you close — but it's the cheapest upgrade to consistency you'll make.
No machine, no plug, no pump. You can brew an AeroPress anywhere you can boil water, which is exactly how mine ended up in Italy.
The grind: fine, like caster sugar
Grind your beans fine — about the texture of caster sugar.That's slightly finer than table salt, and noticeably finer than you'd use in a plunger or a pour over, but stop well short of the powdery espresso grind.
Here's the catch I learned the hard way: grind too fine and the AeroPress becomes hard to press. The plunger stalls, you lean into it, and you're suddenly arm-wrestling a coffee maker at 6am. If you find yourself really pushing, your grind is too fine — back it off a notch next time. Caster sugar is the sweet spot: fine enough for a quick, sweet extraction, coarse enough that the press stays smooth.
It's worth keeping the brewers straight in your head, because the grind is what separates them: a moka pot wants table salt, a pour over wants coarse sand, a plunger wants sea salt — and the AeroPress sits at the fine, caster-sugar end.
The AeroPress coffee ratio
Aim for roughly 1:15— about 1g of coffee for every 15g (millilitres) of water. In practice that's 15 to 17g of coffee to 200–250ml of water for a single cup. Stronger end of the range, you get a punchy concentrate you can top up with hot water (an Americano-style cup); weaker end, a balanced mug you drink as is.
| Variable | Target | Quick feel |
|---|---|---|
| Ratio | 1:15 | ~15–17g coffee to 200–250ml water |
| Grind | Fine | Caster sugar |
| Water | 90–95°C | Just off the boil, wait ~30 sec |
| Steep | ~1 min 30 | Before you press |
| Brew time | ~2 minutes | Lid to mug |
No scale? The AeroPress scoop that comes in the box holds about 11–12g level, so a heaped scoop gets you close to your 15–17g. Fill the chamber with water to about the number-1 marking on the side for a strong cup, or the number-3 marking for a longer one, then top up in the mug to taste. Once you find a ratio you like, write it down and repeat it every morning — that consistency is half of good coffee.
How to use an AeroPress, step by step
This is the standard (non-inverted) method. It takes about two minutes.
1. Boil the kettle, then wait. Let it sit about 30 seconds off the boil — around 90–95°C. Straight off a rolling boil scorches the grounds and pushes the cup bitter.
2. Set up the AeroPress. Pop a paper filter into the filter cap, rinse it with a little hot water (this washes off any papery taste), and screw the cap onto the chamber. Stand the whole thing on top of your sturdy mug.
3. Add the coffee. Tip in your fine-ground coffee — about 15–17g, or one heaped scoop. Give it a little shake to level the bed.
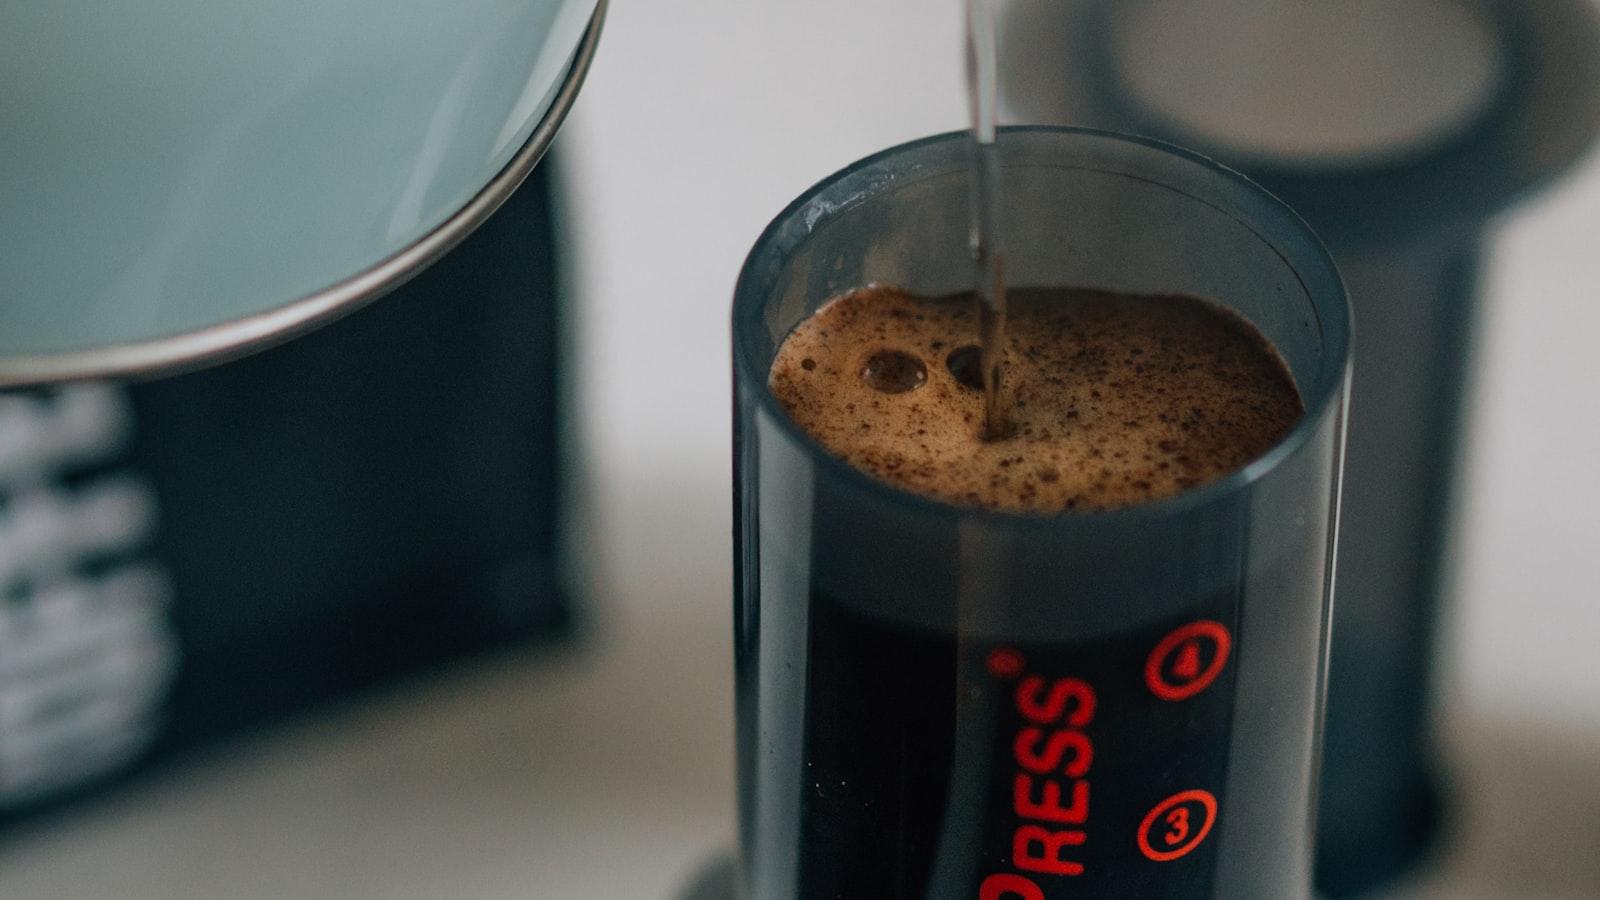
4. Pour the water. Add your hot water up to the right marking, saturating all the grounds, and start your timer.
5. Stir and steep. Give it a gentle stir for a few seconds with the paddle to make sure every ground is wet, then pop the plunger in just far enough to seal the chamber. Let it steep until your timer reads about 1 minute 30.
6. Press, slow and steady.Press down gently and evenly. A good press takes 20–30 seconds and ends with a soft hiss as the last of the water goes through. If it's a real fight, your grind's too fine; if it drops away with no resistance, go a touch finer next time.
7. Top up and drink.You'll have a small, concentrated cup. Drink it as is, or top up with hot water or milk to your taste. Two minutes, lid to mug.
The inverted method — is it worth it?
The inverted method flips the AeroPress upside down — plunger at the bottom, open chamber at the top — so you build the brew with the cap off and no water can drip through while it steeps. You add coffee and water, let it sit, screw the wet filter cap on at the end, then carefully flip the whole thing onto your mug and press.
It's popular for a reason: it gives you a longer, fully controlled steep with zero early drip-through, which is why it's a favourite at the World AeroPress Championship — a real global competition that's been running since 2008, where brewers chase the last 5% of clarity and sweetness. But it's fiddlier, and the flip means inverting a tube of hot coffee over your hand and your counter — a real spill (and burn) risk if you're not deliberate about it.
My honest verdict: for most people, most mornings, the standard method is plenty.The cup difference is small, and the spill risk isn't. Learn the standard press first, get comfortable, and try inverted later if you get curious. It's a fun experiment, not a requirement.
The one thing most people get wrong: brew time
For ages my AeroPress cups were fine— clean, easy, but a bit flat, like the flavour hadn't quite shown up. Then I watched James Hoffmann's "Ultimate AeroPress Technique" and the penny dropped: I was rushing the steep. I'd add water and press almost straight away, cutting the brew short before the coffee had given up its sweetness. The fix was simply letting it sit longer. My go-to now is about two minutes total, with the steep doing the real work, and the cup came alive — rounder, sweeter, properly there.
The lesson that fixed my AeroPress wasn't a new gadget or a fancier grind. It was patience: give the coffee enough time in the water before you press, and a flat cup turns sweet.
If your AeroPress coffee tastes thin or sharp, don't reach for more coffee first — reach for more time. Lengthen the steep before you change anything else.
Common AeroPress mistakes
- Pressing too soon — the big one. A rushed steep gives a thin, under-developed cup, so let it sit and give the water time to do its job.
- Grinding too fine. Espresso-fine grounds stall the press and turn the brew bitter. Back off to caster sugar.
- Water straight off the boil. Let the kettle settle 30 seconds. Around 90–95°C, not 100.
- Skipping the filter rinse. A dry paper filter can lend a faint cardboard taste. A quick hot rinse sorts it.
- Stale, pre-ground coffee.It's usually the wrong grind and well past its best. Buy fresh whole beans and grind as you brew — no single change does more for the cup.
The AeroPress beats a plunger for a single cup
Right, here's where I take a side. For one clean cup, fast, the AeroPress beats a plunger— it's been my go-to single-cup brewer since that Italy trip, and I'll defend it.
The reason is that paper micro-filter. A plunger's metal mesh lets the coffee's oils and finest particles slip through, which is what gives plunger coffee its heavier, oilier body — lovely, but also a little muddy, with a layer of silt at the bottom. The AeroPress paper traps all of that, so the cup comes through cleaner, sweeter and more clearly defined, with less grit and less bitterness. Same beans, and the flavour reads more precise — the fruit and sweetness step forward instead of hiding behind texture.
But I'll concede the plunger's wins openly, because pretending otherwise would be exactly the kind of snobbery we don't do here. The plunger makes a fuller-bodied cup — if you love that rich, oily mouthfeel, the AeroPress will taste a touch lean to you. And a plunger makes more than one cup at a time, which an AeroPress can't. So: brewing for the family on a Sunday, reach for the plunger — our coffee plunger guide covers it. Brewing one excellent cup for yourself, fast and clean? That's the AeroPress, every time.
Which beans to use (and where to buy them in SA)
The AeroPress is wonderfully versatile, which is the other reason it's worth owning. Because the cup comes through so clean, it flatters bright single origins— an Ethiopian or a Kenyan with fruity, floral notes shows off beautifully here, all that clarity letting the flavours ring out. My own everyday bag is an Ethiopian single origin from Colombo Coffee & Tea in Durban, and it's gorgeous through the AeroPress. But a rich, chocolatey blendworks just as well if that's your taste — the immersion and gentle pressure pull plenty of sweetness and body out of a darker roast too. There's no wrong answer; brew what you love.
What does matter is freshness. Buy whole beans from a roaster near you and grind them just before you brew — that's the single biggest upgrade to any cup, AeroPress or not. You can browse South African roasters on our directory and find a fresh bag close to home, whether you're after a bright single origin or a chocolatey everyday blend. Many of them are the same roasters driving the rise of specialty coffee in South Africa.
For gear, you don't need to import anything or spend much — and you don't need a cupboard of accessories. An AeroPress, a pack of filters, fresh beans and a kettle is the whole kit. Spend your money on the beans, give it a week of mornings, and somewhere around cup five — once you've nailed the grind and stopped rushing the steep — you'll get why this funny plastic tube earns its spot on the counter.