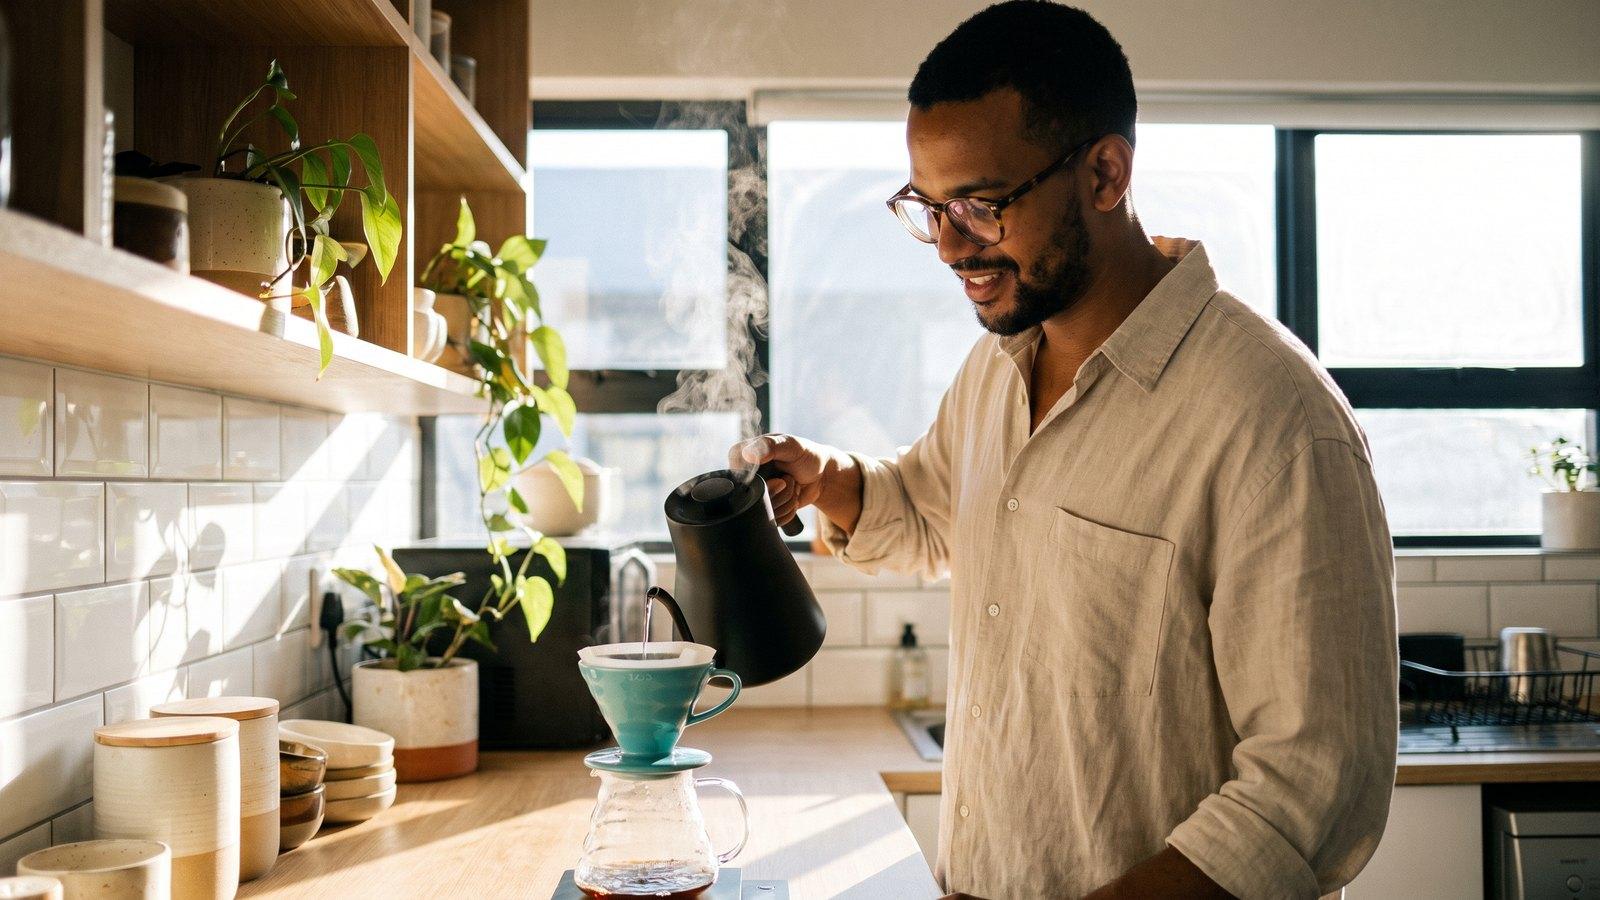
Pour over coffee is filter coffee made by hand: you pour hot water slowly over ground coffee sitting in a paper filter, and gravity drips a clean, bright cup into the mug below. Done right it takes about three minutes, needs no electricity, and gives you more control over flavour than almost any home method — which is exactly why it once made a single origin taste alive to me in a way the plunger never had.
That single origin was an Ethiopian from Colombo Coffee & Tea, a specialty roastery in Durban. I brewed the same bag two ways on the same morning, both done properly: first in my plunger, then as a pour over. The plunger cup was good — rounded, full, comforting. The pour over was something else. The bean turned more alive and nuanced, the fruit lifting out of the cup, and it tasted cleaner, with none of the silt I'd gotten used to. I wasn't sure why at the time. I'll come back to that, because the reason is the whole case for pour over.
What is pour over coffee?
Pour over is a manual filter method. Ground coffee sits in a cone-shaped dripper lined with a paper filter; you wet the grounds, let them release gas, then pour the rest of the water in slow, controlled circles. The National Coffee Association puts it plainly: you hand-pour water over coffee grounds in a filter, and the water extracts the flavour as it passes through into your mug or carafe, leaving the grounds behind. No pump, no pressure, no machine — just you, the kettle, and gravity.
What you get is a cup at the bright, clean end of the spectrum: light in texture, with the flavours clearly defined. That's the opposite of a plunger, whose metal mesh makes a heavier, more textured cup. Same beans, two genuinely different drinks.
The whole brew runs about three minutes once you've got the kettle on. There's no machine in the chain — no pump, no plug, just a kettle and gravity — so it travels anywhere you can boil water.
What you need (the gear)
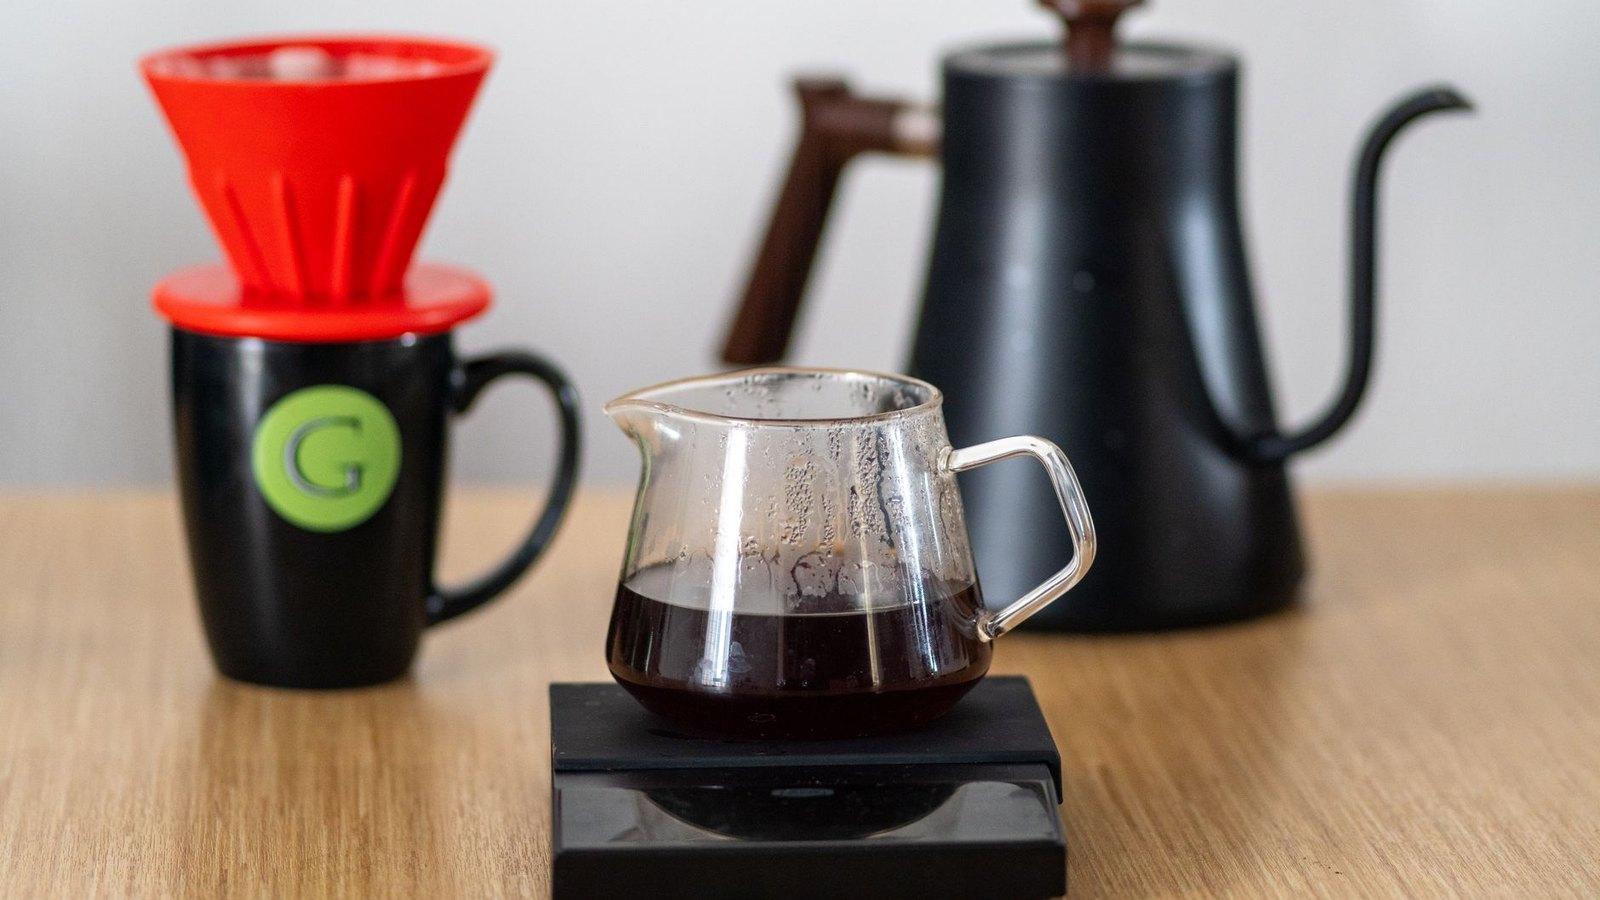
You need less than the internet wants you to believe. The core kit:
- A dripper. The Hario V60 is the most common — a plastic, ceramic or glass cone with spiral ridges inside. The Kalita Wave (a flat-bottomed basket) and the Melitta (a simpler wedge cone) are gentler on technique and very forgiving. The Chemex is a beautiful glass jug-and-cone in one, using a thicker paper for an especially clean cup.
- Paper filtersto match your dripper. They're cheap, and they're the part doing the flavour work, so don't skip them.
- A scale. Any kitchen scale that reads to a gram. This matters more than any pricey gadget — getting the ratio right is most of the battle.
- A burr grinder, ideally. Grinding fresh just before you brew is the single biggest upgrade to any cup, and a burr grinder gives you the even particle size pour over wants.
- A gooseneck kettle.The thin, curved spout lets you pour slowly and exactly where you want. It's the one piece people fixate on — and the one you can most easily skip.
Here's the honest version on that last point. A gooseneck kettle helps, but you do not need a R2,000 setup to make excellent pour over. No gooseneck?Pour from a small jug or a measuring cup with a defined lip, go slow, and keep the stream thin and close to the bed. You'll lose a little precision and gain it back with practice. A roughly R250 dripper plus filters plus a scale gets you about 90% of the way to the cup a full kit makes.
The numbers: ratio, grind and water temperature
Three numbers carry pour over, and none of them are fussy.
| Variable | Target | Quick feel |
|---|---|---|
| Ratio | 1:16 to 1:17 | ~18g coffee to 300ml water |
| Grind | Medium | Coarse sand |
| Water | 92–96°C | Just off the boil, wait ~30 sec |
| Brew time | ~3 minutes | First pour to last drip |
Ratio: 1:16 to 1:17.That's 1g of coffee for every 16–17g (millilitres) of water — about 18g of coffee for a single 300ml mug. The method has room to taste, though. "No matter what brew method you choose, you should always start with a good coffee-to-water ratio," says Counter Culture Coffee's brewing guide, which recommends landing anywhere between 1:14 and 1:20. Start at 1:16, then nudge towards more water if it tastes harsh, less if it tastes thin.
Grind: medium, like coarse sand. Coarser than the table-salt grind a moka pot wants, finer than the sea-salt grit of a plunger. Too fine and the water stalls, over-extracts and turns bitter; too coarse and it rushes through weak and sour. If the water drains in under two minutes, go finer; if it's crawling past three and a half, go coarser.
Water: 92–96°C, just off the boil. Boil the kettle and wait roughly 30 seconds — Counter Culture pegs the ideal range at 195–205°F, which is the same window. Water straight off a rolling boil scorches the grounds and pushes the cup towards bitterness.
How to make pour over coffee, step by step
The whole thing takes about three minutes. None of it is hard.
1. Rinse the filter. Put the paper filter in the dripper and pour hot water through it into your empty mug or carafe, then tip that water out. This rinses off the papery taste and warms everything up.
2. Add the grounds and level them. Tip in your medium-ground coffee — about 18g for a 300ml cup — and give the dripper a gentle shake so the bed sits flat. Put the whole thing on your scale and zero it.
3. Bloom.Pour just enough water to wet all the grounds — roughly double the coffee weight, so about 36g — and stop. The bed will swell and bubble. That's the bloom: trapped carbon dioxide off-gassing from fresh coffee. Let it breathe for 30 to 45 seconds. Fresh beans bloom dramatically; flat, stale ones barely move, which tells you something.
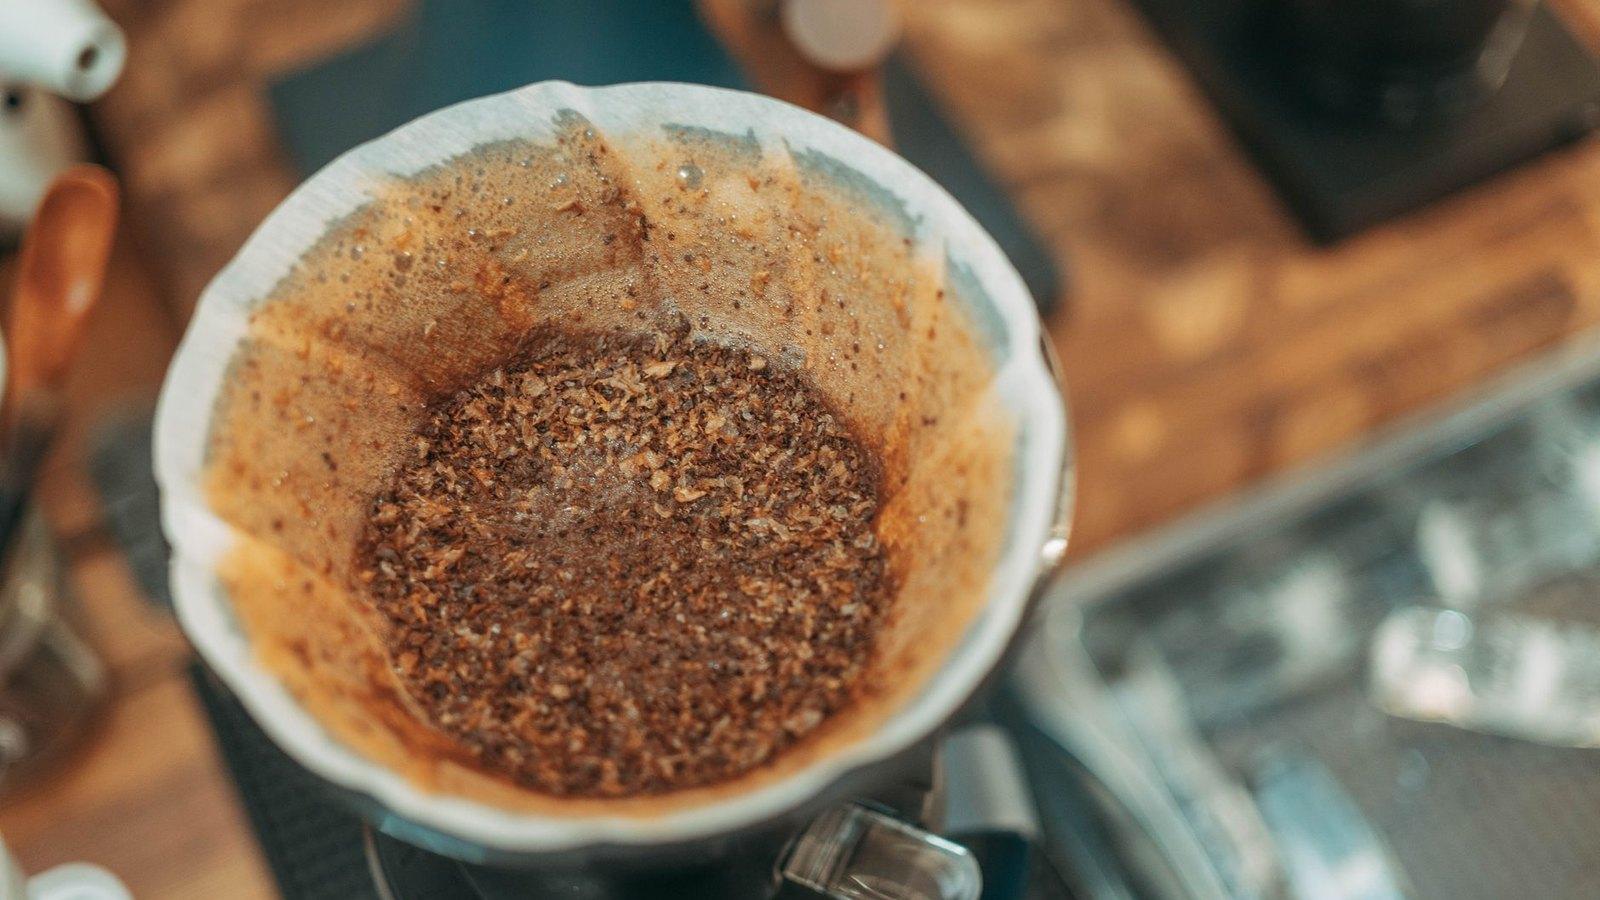
4. Pour in slow spirals. Now pour the rest of the water in slow, steady circles, starting at the centre and spiralling outward, then back in. Keep the water level roughly mid-way up the bed rather than flooding it, and add it in two or three pours, letting the level drop a little between each.
5. Let it draw down. Once your scale reads the full target — about 300g — let the last of it drain through. The bed should be flat and even. Total brew time from first pour to last drip: around three minutes.
Lift the dripper off, give the cup a gentle swirl, and drink it.
Common pour over mistakes (and the fixes)
- Pouring too fast, all at once. This is the big one. A fast dump channels water straight through and under-extracts. Slow down, keep the stream thin, build it up in pours.
- Wrong grind. Stalled and bitter means go coarser; fast and sour means go finer. Adjust one notch at a time.
- Skipping the bloom. No bloom means carbon dioxide fights your water and extraction goes uneven. Always wet and wait.
- Boiling water. Let the kettle settle 30 seconds. 92–96°C, not 100.
- Stale, pre-ground supermarket coffee.It won't bloom, and it's usually the wrong grind for your dripper anyway. Buy fresh whole beans and grind them as you brew.
Pour over vs plunger: which should you use?
Here's where I'll come down on one side rather than give you both-sides mush. Pour over earns its place with bright, light-roast single origins — Ethiopian Yirgacheffe, a washed Kenyan, anything fruity and delicate. The clarity is the entire point, and these beans have the most to show.
But for a big milky morning mug, or a darker chocolatey roast you're drinking by the litre, a plunger is just as good and less faff — and that's where my Ethiopian finally makes sense. The one that tasted more alive through the V60? The reason is the paper filter. It traps the coffee's oils — the diterpenes — and the finest particles, and that's exactly what produces the clean, sediment-free cup and lets the delicate fruity notes step forward. A plunger's mesh lets those oils through for body and richness, which is lovely with a chocolatey medium but muddies a fruity light roast's clarity. Neither is better in the abstract. They flatter different beans. If you want the full plunger method, our coffee plunger guide covers it.
Which beans work best for pour over
Reach for light to medium roasts, ideally single origins, with bright tasting notes: citrus, florals, berry, stone fruit. An Ethiopian Yirgacheffe is the classic — all jasmine and blueberry when it's done well — and a washed Kenyan brings blackcurrant and a juicy acidity that pour over shows off beautifully. These are the beans where the method's clarity becomes the feature rather than a footnote.
If you're still learning to read a bean bag, choosing your first bag of specialty coffee walks through what those tasting notes actually mean and how roast level maps to flavour.
Where to buy pour over gear in South Africa
You don't need to import anything. Drippers, filters, scales and gooseneck kettles are easy to find locally, online and in homeware shops, and a basic V60-and-filters setup is inexpensive. Two things worth being choosy about: pick a dripper whose filters you can actually buy on repeat, and get a scale that reads to a gram. Everything else is a nice-to-have you can add once you're hooked.
The part worth real care is the beans. Buy fresh from a roaster near you — you can browse South African roasters on our directory and filter for the bright, fruity single origins that pour over loves, many of them the same roasters fuelling the rise of specialty coffee in South Africa. Start with a simple dripper and a bag of something bright and fruity. The first time a cup comes through clear and alive — the way that Colombo Ethiopian did for me — you'll have your answer on whether the slow pour earns its three minutes.