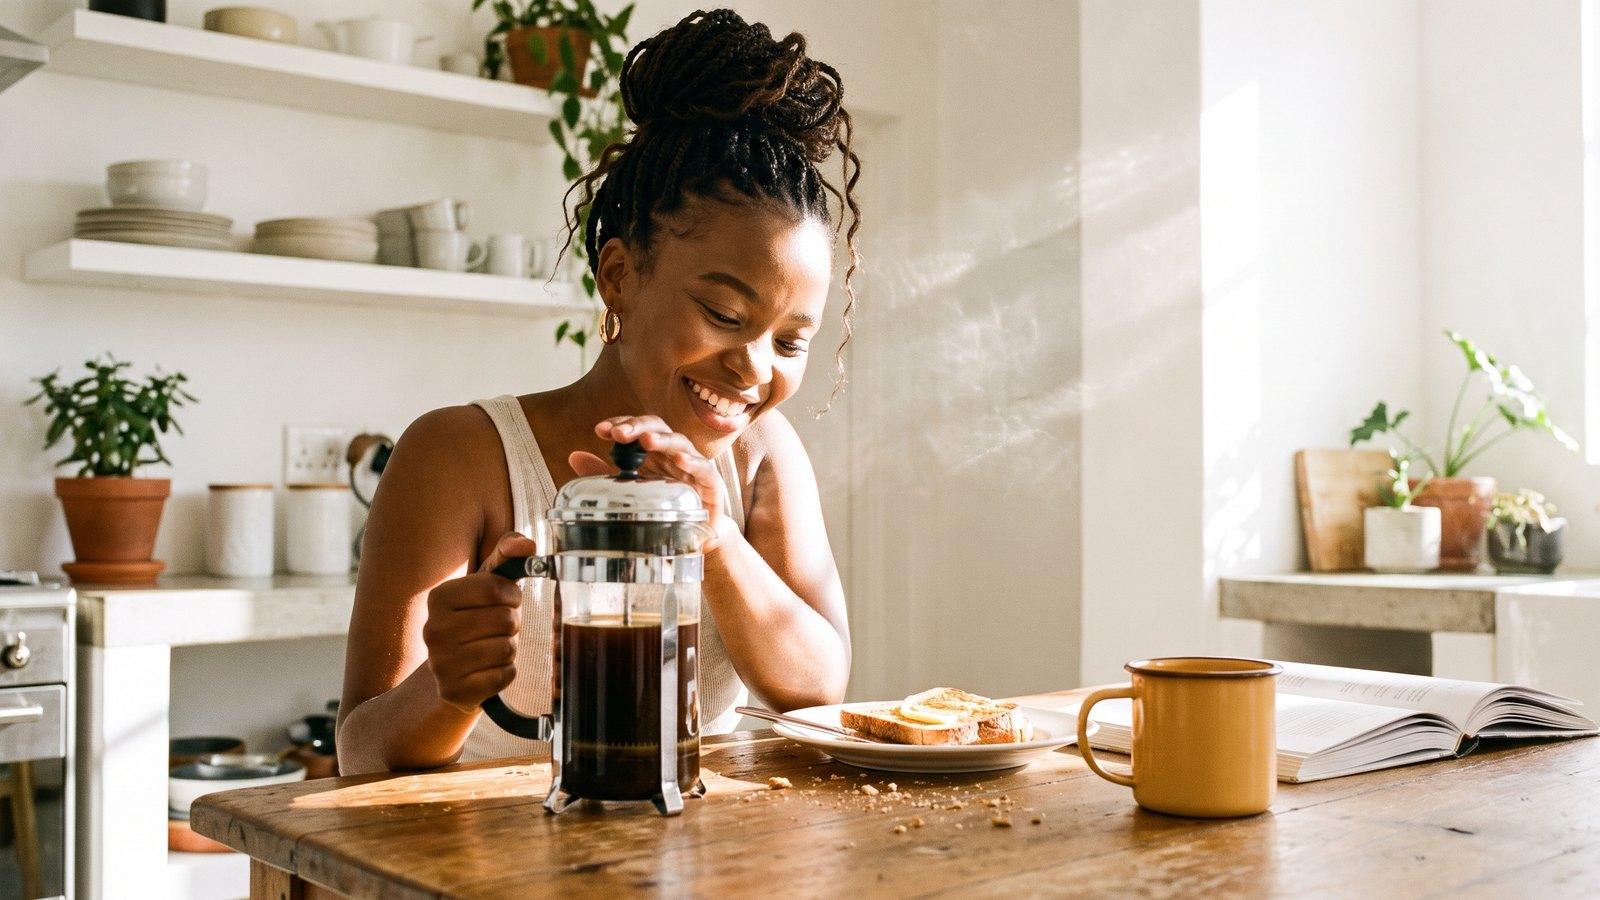
A coffee plunger — what South Africans call a French press — brews coffee by steeping coarse grounds in hot water, then pressing a mesh filter down to separate them. Get three things right and it makes a rich, full-bodied cup with almost no skill or gear: a coarse grind, a roughly 1:15 coffee-to-water ratio, and a four-minute steep.
I brew on a 4-cup glass Bodum most weekends, and it's still the brewer I'd hand a beginner first. No paper filters to run out of, no machine to descale, no learning curve to speak of. My early cups were genuinely bad — bitter and muddy — but the fix turned out to be two small habits rather than a new gadget. Let's get the basics down first, because once you understand what's happening inside the plunger, the good coffee follows.
What is a coffee plunger, and what's it used for?
A coffee plunger is a tall jug with a plunger-and-mesh-filter lid that brews coffee by full immersion — the grounds sit in hot water the whole time, then you press them to the bottom and pour off the clear coffee on top. It's used to make rich, full-bodied coffee at home without electricity, paper filters, or any real skill.
A coffee plunger and a French press are the exact same thing. "Coffee plunger" is just what we call it in South Africa (and Australia and New Zealand). Elsewhere it goes by French press, cafetière, press pot or coffee press — all one device. So if a recipe says "French press" and you own a plunger, you're sorted; there's nothing to translate and nothing to swap out.
Because the metal mesh lets the coffee's natural oils through — unlike a paper filter, which traps them — a plunger makes a cup that's heavier, oilier and more textured than drip or pour over. You get body and a fuller mouthfeel. The trade is a little sediment at the bottom of the cup, since fine particles slip through the mesh. Some people love that richness; others find the silt annoying.
It's worth saying what the plunger is not. It's not an espresso maker, though — there's no pressure behind it, so you won't get crema or a concentrated shot the way a machine does. If you're after a strong, espresso-style cup from the stovetop, the moka pot guide covers that method instead, because the plunger sits at the gentle, full-flavoured end of the scale rather than the strong-and-concentrated one.
What you need: plunger, grind, beans, ratio
Most plunger guides wave vaguely at "coarse grind" and leave it there. Here are the actual numbers, because getting them roughly right is most of what separates a good plunger cup from a bad one.
| Variable | Target | Quick feel |
|---|---|---|
| Grind | Coarse | Coarse sea salt / breadcrumbs |
| Ratio | ~1:15 coffee to water | 1g coffee per 15g water |
| Water | Just off the boil, 93-96°C | Boil, then wait 30 seconds |
| Steep | 4 minutes | Lid on, don't press yet |
| Beans | Fresh whole, medium roast | Ground just before brewing |
The plunger.A 3-cup (350ml) is right for one person; an 8-cup (1L) suits a household or a weekend crew. As with moka pots, "cups" here are small, not mugs — buy for how much you actually drink, since an under-filled plunger brews unevenly.
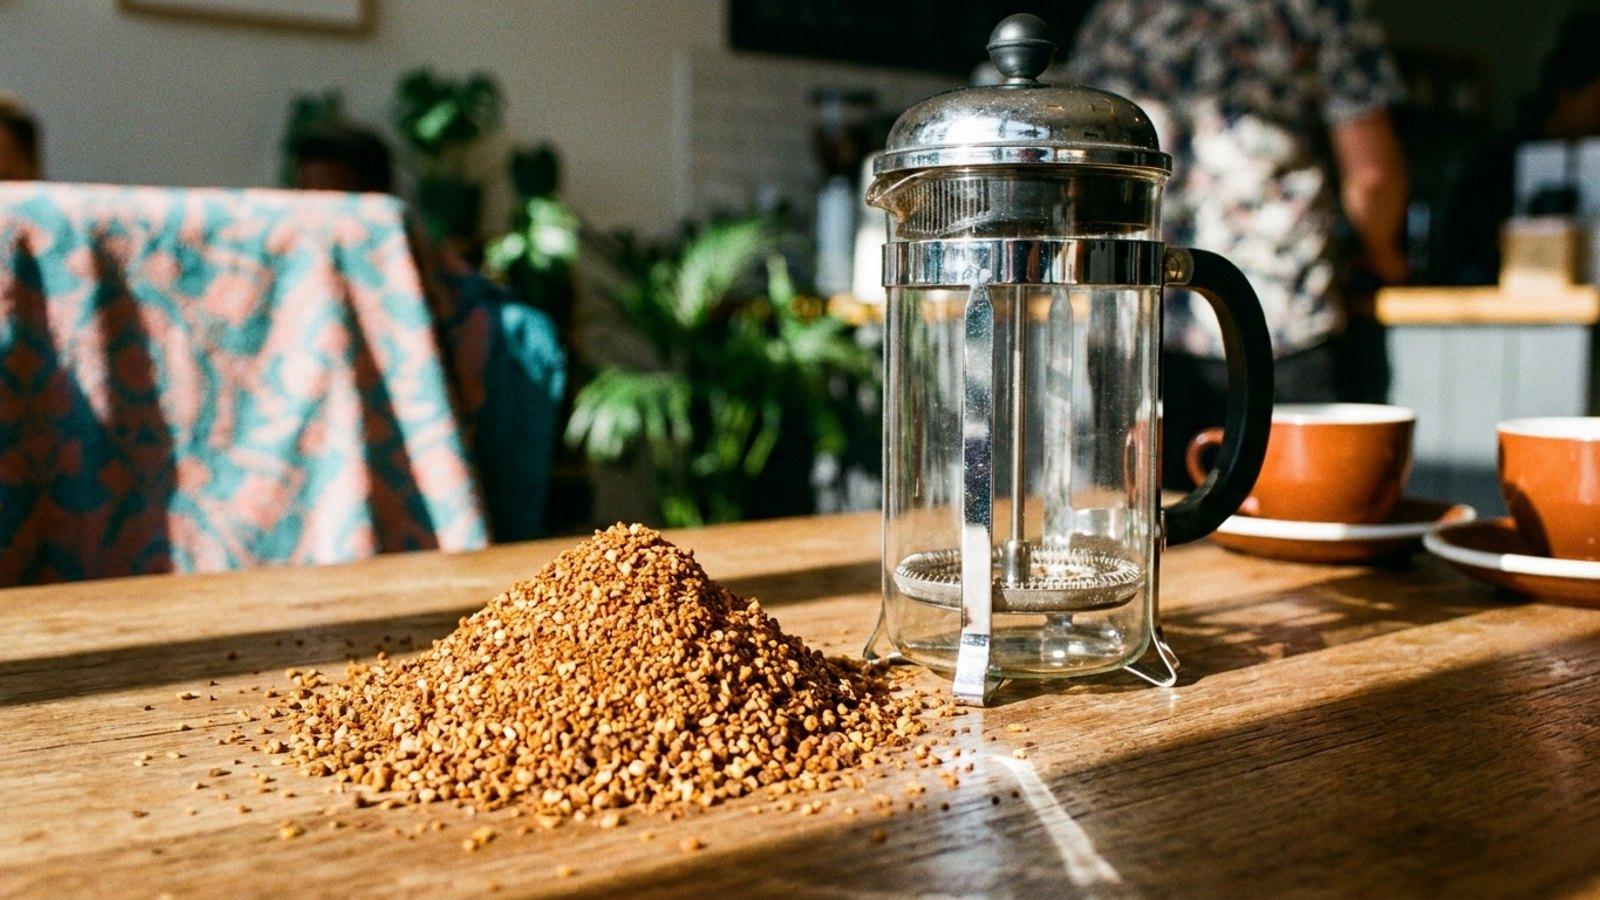
The grind.Coarse, like coarse sea salt or breadcrumbs. This is the single most important variable. Too fine and you get grit in the cup plus a bitter, over-extracted brew that's murder to press. Coarse grounds, on the other hand, extract more slowly and press down without a fight, which is exactly what you want. It's noticeably coarser than what you'd use in a moka pot, which sits at the table-salt end.
The beans. Fresh whole beans, medium roast, ground right before you brew. The plunger flatters body and sweetness, so a chocolatey, nutty medium roast sings in it.
The ratio. Aim for roughly 1:15— 1g of coffee for every 15g (millilitres) of water. For a standard 350ml mug that's about 23g of coffee. No scale? Use tablespoons: roughly one heaped tablespoon per 250ml, so about 1½ tablespoons for a 350ml mug and three to four for a 1-litre plunger. Once you find a ratio that tastes right to you, jot it down somewhere and just repeat it every morning — that consistency is half the battle.
How to make coffee in a plunger, step by step
This is the method that turned my mornings around. None of it is difficult — the only thing you really have to stay on top of is the timing, and even that becomes automatic after a few brews.
1. Boil the kettle, then wait. Boil your water and let it sit for about 30 seconds. You want it just off the boil — around 93-96°C. Water straight off a rolling boil scorches the grounds and pushes the cup towards bitter.
2. Grind fresh and coarse. Grind your beans to a coarse sea-salt texture right before brewing. Pre-ground coffee has usually gone stale and is almost always too fine for a plunger — the root of most disappointing cups.
3. Add the grounds.Tip the coarse grounds into the empty, ideally pre-warmed plunger. For a 350ml mug, that's about 23g.
4. Pour all the water at once. Pour the hot water over the grounds in one go, saturating everything, then give it one gentle stir to break the dry crust that forms on top.
5. Steep for four minutes, lid on, don't press. Pop the lid on with the plunger pulled all the way up (it keeps the heat in) and leave it for four minutes. Resist pressing. This is the steep — the actual brewing — and the question "how long do you let coffee sit in a plunger?" has one answer: about four minutes.
6. Optional — finish it the Hoffmann way. For a cleaner cup, coffee educator James Hoffmann's much-copied method skips the firm press entirely: after the steep, scoop the floating crust and foam off the top with two spoons, let the grounds settle, then either don't plunge at all or drop the plunger only just below the surface. Less agitation means less silt in the cup. Use it if sediment bothers you; otherwise the normal press in step 7 is fine.
7. Press slowly.Push the plunger down gently and steadily. If it fights back hard, your grind's too fine — note it for next time. Slow and smooth keeps the grounds settled at the bottom.
8. Pour it all out now.This is the step people skip and regret. Decant every drop into your mug or a separate jug the moment you've pressed. Coffee left sitting on the grounds keeps extracting and turns bitter within minutes, so pour it out straight away, even if you're not drinking it all at once.
The mistakes that make plunger coffee bitter or gritty
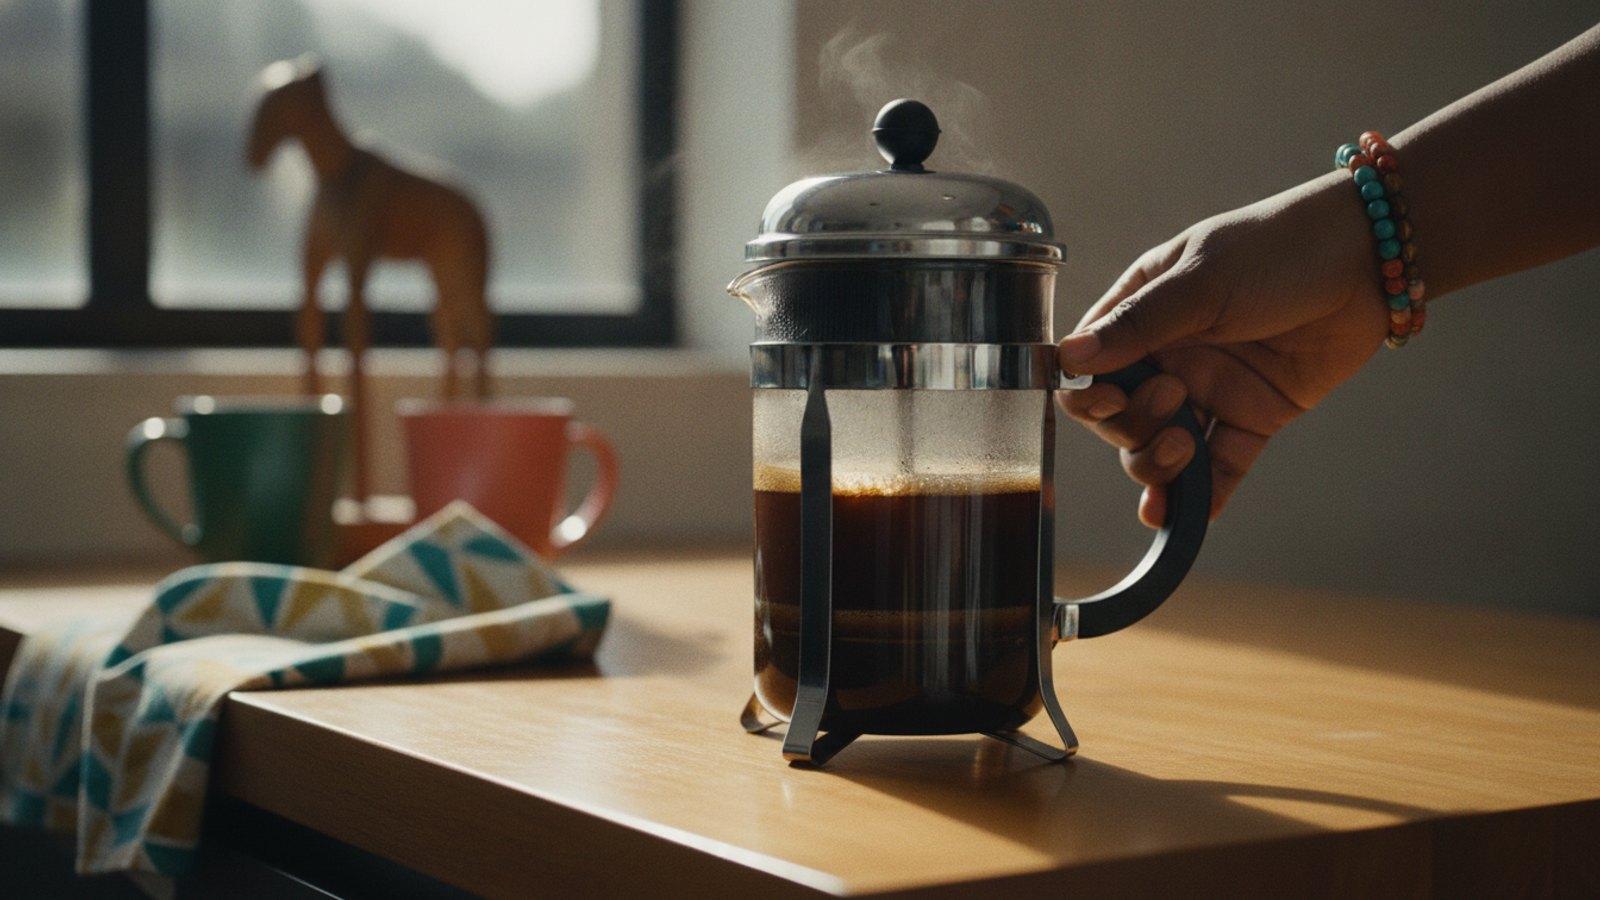
Let me tell you how I learned this, because I made the classic blunder. Early on, I'd grab a bag of supermarket pre-ground coffee, throw it in the Bodum, and then — distracted, mug in hand — leave it steeping while I got on with my morning. Ten minutes, sometimes more. The cup came out bitter and over-extracted, the kind of harsh, flat coffee that makes you reach for sugar. Naturally, I blamed the plunger, when of course the plunger had nothing to do with it. The fault was all mine: stale, pre-ground coffee left to stew far too long.
The fix was almost embarrassingly simple, and it's worth saying plainly:
Use fresh whole beans, grind them coarse, and pour the coffee out at four minutes instead of letting it sit on the grounds. It is the same plunger in the same kitchen, and the cup that comes out is completely different.
The moment I switched to fresh beans, ground them coarse, and started decanting on time, the bitterness vanished and a real sweetness came through — and that was genuinely all it took.
Here are the other usual culprits, quickly:
- Grind too fine. The biggest one. Fine grounds slip through the mesh (grit in your cup) and over-extract (bitter). Go properly coarse, about the texture of sea salt.
- Leaving the coffee in the press.Standing coffee keeps brewing and turns harsh. Pour the whole lot out as soon as you've pressed it down, before it has a chance to keep brewing.
- Boiling water. Straight off the boil scorches the grounds, so let the kettle settle for 30 seconds first.
- Pressing too hard or too fast. Forces fines through and stirs up sediment — press slow and gentle.
- Supermarket pre-ground coffee.Usually stale and too fine — bitter and muddy before you've even started.
That last one is the opinion I'll plant a flag on: skip supermarket pre-ground coffee entirely.It's the number one reason home plunger coffee tastes bad. Buy fresh whole beans from a real roaster and grind them coarse just before you brew. Honestly, no other single change you make will do as much for the cup as ditching the pre-ground.
Are coffee plungers any good? The honest downsides
Yes — genuinely good, and brilliant value — but an honest guide should name the trade-offs too.
The main one is sediment. The metal mesh that gives you all that lovely body also lets fine particles through, so there's a layer of silt at the bottom of the cup. Skimming the crust and grinding coarser both help, but you'll never get the crystal-clear cup a paper-filtered pour over gives you. If grit bothers you, the plunger may not be your method.
It also can't do espresso — without real pressure behind the water, you don't get crema or that concentrated shot, so don't buy one expecting café-style shots. There's a habit trap too: a plunger keeps extracting if you leave the coffee sitting on the grounds, so a pot abandoned on the counter goes bitter fast and you really do have to pour it out once it's pressed. And the classic glass models are exactly that — glass — so they chip and crack if you knock them about, where stainless steel or stoneware survives a clumsy kitchen better.
None of this is a dealbreaker. It's just the trade for rich, full-bodied coffee from a jug that costs less than a few takeaway flat whites and needs zero electricity.
Where to buy a coffee plunger in South Africa
Plungers are easy to find locally — you don't need to import anything. The classic name is Bodum, the Danish-founded brand most South Africans picture when they think "plunger" (it's what I use).
For the cheapest entry point, Mr Price Home carries basic glass plungers from around R179 — perfect for testing the method before committing. Yuppiechef stocks the proper Bodum range, with the well-known Chambord around R549. Checkers (and on Sixty60 for next-hour delivery) and Woolworthsboth carry plungers in their homeware aisles, and you'll find smarter design-led options from Carrol Boyes and stoneware versions from Le Creuset if you want something that doubles as a tableware piece.
Three quick buying calls:
- Size. A 3-cup (350ml) for solo drinking; an 8-cup (1L) for a household or weekend guests.
- Material. Glass is cheapest and lets you watch the brew, but it breaks. Stainless steel is near-indestructible and keeps coffee hotter. Stoneware (like Le Creuset) sits in between and looks the part.
- Filtration. If sediment really bothers you, the Espro Press uses a finer double micro-filter that pours noticeably cleaner than a standard mesh. Bodum is the everyday classic that does the job for most people, while the Espro is the one to reach for if a clean cup matters more to you than price.
Which beans suit a coffee plunger
A plunger flatters fresh, medium-roast beans, ground coarse. The full-immersion brew and oil-passing mesh bring out body and sweetness, so a chocolatey, nutty, caramel-leaning medium roast turns into a rich, rounded cup. Brighter, fruitier light roasts work too if you like them — the plunger's gentleness treats delicate beans kindly — but if you're not sure where to start, a medium roast is the safest and sweetest place to begin.
When you're shopping, read the bag and reach for notes like chocolate, caramel, nuts, brown sugar. If you're new to decoding bean labels, choosing your first bag of specialty coffee walks through what all those tasting notes actually mean.
The single biggest upgrade is simply buying fresh: whole beans from a local roaster, ground coarse just before you brew. You can browse South African roasters on our directory and find a chocolatey medium near you — most roasters offer one, and it's exactly your plunger bean.
That really is the whole craft of it: fresh beans ground nice and coarse, water just off the boil, a four-minute steep, and then pouring every last drop out before it can turn on you. None of it is complicated once you've done it a few times. Get yourself a plunger and a good bag, give it a week of mornings, and by cup five or six you'll have it dialled — and you'll wonder why you ever put up with instant.